Design Your Dream Home Lighting: A Guide to DIY Retro Hanging Luminaires
Lighting is an essential element of home decor, setting the mood, and enhancing the aesthetics of your living space. In recent years, the timeless charm of retro design has made a stunning comeback in the world of interior decoration. The combination of classic aesthetics with modern LED technology offers a unique opportunity for DIY enthusiasts to create their very own retro hanging luminaires. In this comprehensive guide, we will explore the exciting world of DIY lighting, focusing on how you can craft a personalized retro hanging luminaire that perfectly suits your style and home.
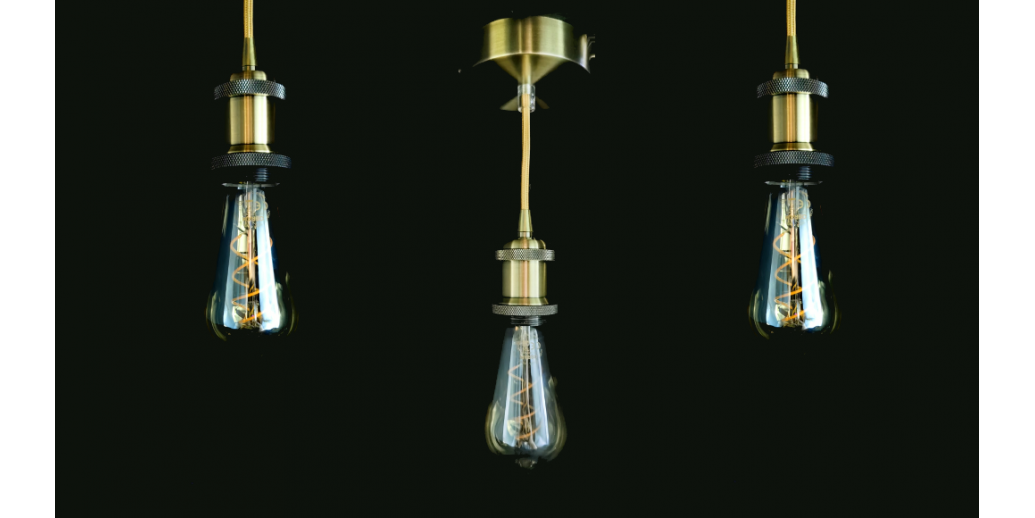
Illuminating Your Space with DIY Elegance
In the world of interior design, lighting is often the unsung hero. It has the power to set the mood, enhance aesthetics, and create an inviting atmosphere. If you're seeking to infuse your living space with personality and timeless elegance, there's no better way to do so than by crafting your own retro hanging luminaire. This journey into DIY lighting not only allows you to personalize your decor but also unleashes your creative genius.
In the chapters that follow, we'll embark on a step-by-step adventure of crafting your unique luminaire. We'll explore the essential materials, design inspiration, hassle-free assembly, and infinite possibilities for customization. Your space will soon be transformed, exuding a blend of nostalgia and modern style that is truly your own.
Join us as we delve into the world of DIY lighting and embark on the quest to create a luminaire that not only illuminates but also captivates.
Chapter 1: The Resurgence of DIY Lighting in Modern Home Decor
In recent years, do-it-yourself (DIY) lighting has experienced a remarkable resurgence, contributing to the evolution of modern home decor. Homeowners and design enthusiasts are increasingly drawn to the idea of crafting their own lighting fixtures, allowing them to put their unique stamp on their living spaces. This chapter explores the growing trend of DIY lighting and how it plays a crucial role in personalizing and modernizing home decor.
The appeal of DIY lighting lies in the opportunity to create customized luminaires that match one's style, preferences, and the ambiance they desire in their homes. By embarking on DIY lighting projects, individuals can infuse their living spaces with a sense of individuality, nostalgia, and personality.
Chapter 2: Essential Materials for Crafting Your Retro Hanging Luminaire
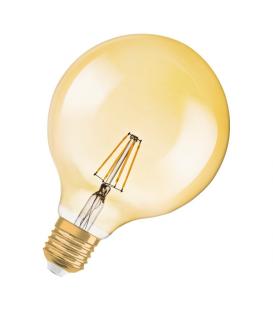
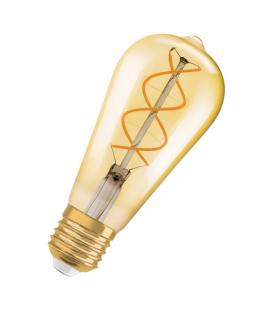
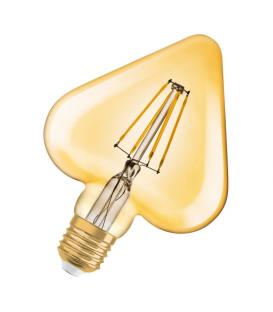
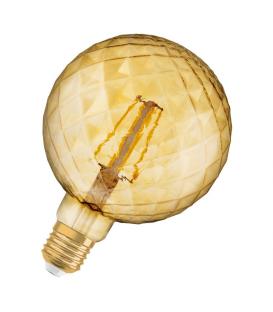
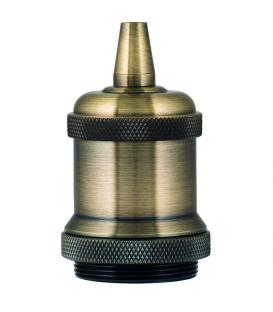
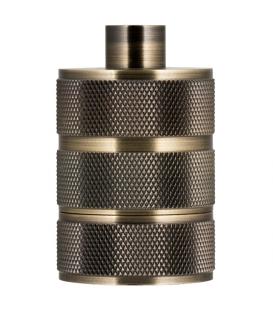
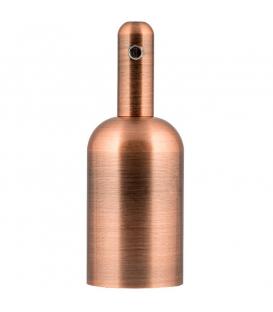
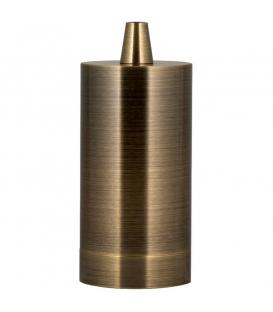
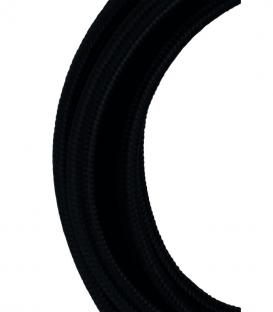
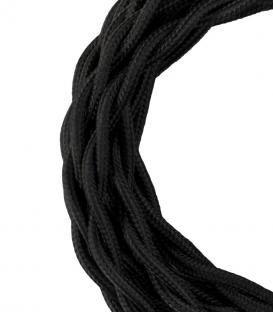
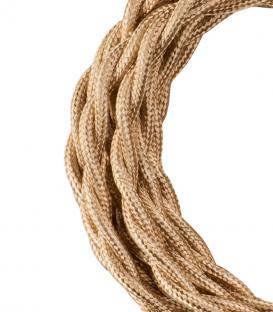
Before diving into the exciting world of DIY lighting, it's essential to familiarize yourself with the core materials and components required to craft your retro hanging luminaire. The key elements that form the foundation of your luminaire are decorative LED lamps, retro lamp holders, and decorative cables, available in attractive finishes such as bronze or gold.
Decorative LED lamps are the heart of your luminaire, providing the warm and inviting light that will grace your living space. Retro lamp holders, with their classic aesthetics, not only support the lamp but also add a touch of vintage charm to your luminaire. The decorative cables in bronze or gold serve both as functional elements and as design features, allowing you to customize the appearance of your luminaire.
Step 1: Identify Your Style Before you begin, take some time to identify your preferred style and the ambiance you want to create in your living space. Understanding your design goals will help you choose the right materials.
Example: If you aim to create a modern industrial style, consider a LED bulb with a distinctive filament look and retro details on the bulb holder.
Step 2: Choose Your LED Lamp Start by selecting a decorative LED lamp that complements your style. Consider factors like color temperature, brightness, and the shape of the lamp. This will be the heart of your luminaire, providing both light and aesthetics.
Example: If you want warmth and a vintage look, opt for an LED bulb with soft white light and a classic shape.
Step 3: Select a Retro Lamp Holder Next, choose a retro lamp holder that enhances the overall appearance of your luminaire. These holders come in various styles, including industrial, vintage, and minimalist. Pick one that resonates with your design vision.
Example: If you're aiming for an industrial look, consider a holder with raw metal details.
Step 4: Pick a Decorative Cable For the finishing touch, select a decorative cable in either bronze or gold. The cable not only adds a functional element but also contributes to the luminaire's visual appeal. Choose the color that best complements your lamp and holder.
Example: If you want to add elegance, choose a gold cable for contrast with the retro holder.
Understanding these essential materials is the first step toward successfully crafting your own unique lighting fixture.
Chapter 3: Unleash Your Creative Genius in Luminaire Design
Designing your retro hanging luminaire is an opportunity to let your creativity shine. This chapter guides you through the process of designing a luminaire that perfectly aligns with your vision and style. The creative possibilities in luminaire design are virtually limitless, allowing you to add a personalized touch to your living space.
By understanding the interplay of design elements such as the lamp, holder, and cable, you can create a luminaire that not only provides functional lighting but also serves as a work of art. Whether you prefer a minimalist, industrial, or vintage look, the design is entirely in your hands.
Step 1: Gather Design Inspiration Begin by collecting design inspiration from various sources, such as home decor magazines, online platforms, or even by visiting vintage shops. This will help you refine your vision for your luminaire.
Example: Inspired by the retro aesthetics of the fifties, focus on classic patterns and shapes.
Step 2: Plan the Luminaire Layout Sketch out the layout of your luminaire, considering the positioning of the LED lamp, lamp holder, and decorative cable. Decide on the heights, angles, and distances between these elements to achieve the desired look.
Example: For a minimalistic touch, place the LED bulb in the center and use a simple-patterned holder and cable.
Step 3: Experiment with Combinations Play around with different combinations of LED lamps, lamp holders, and decorative cables. Experimentation is key to finding the perfect combination that aligns with your design vision.
Example: For a contemporary rendition, combine different color contrasts between the bulb, holder, and cable.
Step 4: Balance Aesthetics and Functionality While the aesthetics of your luminaire are essential, don't forget about functionality. Ensure that the LED lamp provides the right amount of light and that the lamp holder securely supports the lamp.
Example: When selecting the bulb, consider that it must provide sufficient light for your activities.
The DIY aspect of luminaire design empowers you to experiment, explore, and express yourself through your craft. In the end, your luminaire will be a reflection of your creativity, passion, and personality.
Chapter 4: Hassle-Free Luminaire Assembly: Step-by-Step Guide
Assembling your retro hanging luminaire may sound daunting, but in reality, it's a straightforward and hassle-free process. This chapter provides you with a comprehensive, step-by-step guide to help you navigate through the assembly process with confidence.
Step 1: Assemble Your Tools Gather the necessary tools for the assembly, such as screwdrivers, pliers, and wire strippers. Having everything ready will make the process smoother.
Example: Use screwdrivers with interchangeable tips for easy adjustment of screw sizes.
Step 2: Attach the Lamp Holder Start by attaching the lamp holder to the ceiling or chosen location. Ensure it's securely fastened and aligned with your design plan.
Example: For an industrial look, mount the holder with exposed screws.
Step 3: Connect the LED Lamp Carefully connect the LED lamp to the lamp holder. Ensure that it's properly seated and that the electrical connections are secure.
Example: For a vintage touch, select a lamp holder with a pull-chain switch.
Step 4: Secure the Decorative Cable Finally, secure the decorative cable to the lamp holder and ceiling. Adjust the length and position as needed to achieve the desired luminaire layout.
Example: Opt for a gold cable to add an elegant contrast to the overall design.
Step 5: Test the Luminaire Before completing the assembly, test your luminaire to ensure it functions as expected. Turn on the LED lamp and assess the lighting and overall aesthetics.
Example: Make sure the brightness and color temperature match the ambiance you desire.
By breaking down the assembly into clear and manageable steps, you can effortlessly bring your luminaire to life. From attaching the lamp holder to securing the decorative cable, each stage is explained in detail. With the guidance offered in this chapter, you'll have your dream lighting fixture ready in no time.
Chapter 5: Embrace Timeless Elegance with Retro Design
One of the most captivating aspects of retro design is its timeless elegance, which continues to inspire and influence contemporary aesthetics. In this chapter, we explore how you can embrace the classic beauty of retro design with a modern twist, adding an element of nostalgia and sophistication to your home decor.
Retro design elements are characterized by their simplicity, clean lines, and a focus on functionality. These elements have a universal appeal that transcends time and trends. By incorporating retro design into your luminaire, you can infuse your living space with an enduring elegance that never goes out of style.
Embracing retro design is a tribute to the past while creating a timeless and elegant atmosphere in your home.
Chapter 6: Illuminating Your Space with Personality and Ambiance
Your retro hanging luminaire is more than just a source of light; it's a statement piece that adds personality and ambiance to your living space. In this chapter, we'll explore the ways in which your newly created luminaire can transform your home, creating a unique and inviting atmosphere.
The customized design, combined with the quality of light emitted by the decorative LED lamp, contributes to a one-of-a-kind atmosphere. Whether you're looking to create a cozy reading nook, an intimate dining area, or a welcoming foyer, your luminaire will set the mood and bring your vision to life.
The lighting, ambiance, and decor of your space are intertwined, and your retro hanging luminaire is the link that ties them together.
Chapter 7: Endless Possibilities: Design and Customize on Svetila.com
The journey of DIY lighting doesn't end with your luminaire's completion; it's only the beginning. In this final chapter, we invite you to explore a world of infinite possibilities for design and customization on Svetila.com.
Step 1: Visit Svetila.com Start by visiting Svetila.com, the platform that offers a wide range of decorative LED lamps, retro lamp holders, and stylish cables for your luminaire projects.
Step 2: Explore Product Options Browse through the available products to explore the various options in terms of lamp styles, holder designs, and cable colors. Take your time to compare and select the components that align with your design vision.
Step 3: Mix and Match Components Experiment with mixing and matching different components to create unique combinations. Svetila.com allows you to preview how different lamps, holders, and cables work together.
Step 4: Customize Your Order Once you've settled on a design, customize your order on Svetila.com. Choose the specific quantity of components you need to complete your luminaire project.
Step 5: Finalize Your Purchase Review your order, ensuring that you've selected the right components and quantities. Then, proceed to finalize your purchase and prepare for the exciting phase of crafting your personalized luminaire.
Svetila.com offers a platform where you can continue to unleash your creativity and design unique luminaires. The website provides a range of decorative LED lamps, retro lamp holders, and stylish cables, allowing you to experiment with different combinations and styles.
Designing your own retro hanging luminaire is more than just a lighting project; it's an opportunity for self-expression and style. By incorporating decorative LED lamps, retro lamp holders, and stylish cables, you're not only designing a functional lighting fixture but also adding a unique work of art to your home. Your luminaire reflects your creativity, passion, and personality. So, why settle for ordinary lighting when you can design your dream home lighting? Dive into the world of DIY retro hanging luminaires, and watch your space come alive with a touch of nostalgia and modern elegance. Explore the endless possibilities and make your space truly yours.
Feel free to use these step-by-step guides as a reference for your blog post or publication. They provide practical guidance for readers looking to create their own retro hanging luminaires and explore design possibilities on Svetila.com.








Comments (1)